Methods and Techniques for Shooting Pet Close-Up Portraits
Cat
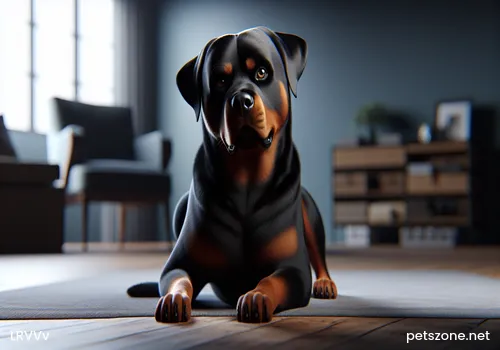
On the internet, there are often close-up photos of dogs or cats' heads, just as shown in the picture, very cute. Many pet owners then begin to try it out themselves, but have they all succeeded? Today, the editor will tell you the correct methods and techniques for shooting close-up pet portraits.
1. Why can close-up portraits be taken?
Actually, the heads of the cats/dogs in close-up photos look larger than usual partly due to lens distortion! Combined with the shooting angle and composition, the animal’s features are exaggerated, which makes the close-up portraits possible!
2. Equipment needed for shooting close-up cats/dogs
An entry-level DSLR is sufficient, using an 18mm or wider wide-angle end.
1. One camera – it can be a DSLR or a normal digital camera, but DSLR offers greater flexibility in equipment;
2. If a DSLR, it’s recommended to equip a wide-angle lens (such as 18mm, or even 10mm or fisheye lens—the wider, the more exaggerated the distortion);
3. Toys/food your pet likes
3. Techniques
1. Angle
Shooting downward from a high angle can exaggerate the pet’s head proportion, so place your pet on the ground lightly standing or sitting. Then get as close to the pet as possible to shoot.
2. Focal length
The shorter the focal length (wider angle), the more exaggerated the effect. For APS-C format DSLR or digital camera users, it’s recommended to use 18mm or wider focal lengths, even wider fisheye lenses.
3. Aperture
Aperture controls the amount of light entering the camera and affects the depth of field. A large aperture (like f/1.4) increases light input, which is advantageous in dim environments (like indoors), but results in shallow depth of field, causing the head to be sharp but the body blurred (or eyes sharp and nose blurry—as in the cat example below). Therefore, try to use f/4 or above (f/5.6 or higher is better) when shooting close-ups, but be careful not to use too small an aperture that leads to too slow a shutter speed, causing hand shake or pet movement blur.
4. Shutter speed
Since pets move frequently, it’s best to set a shutter speed of 1/80s or faster to keep safe shots. Slower speeds can be used to express motion, as explained later.
5. ISO
When the aperture is small and a fast shutter speed is needed, ISO may need to be increased, e.g., ISO 800 or 1600. However, higher ISO increases image noise, so it’s recommended to test as follows:
(1) Set the camera to aperture priority mode (A-mode/Av-mode)
(2) Set ISO to 100 or 200 (start at ISO 800 if shooting in dark indoor environments)
(3) Set aperture to f/5.6, check shutter speed—if slower than 1/80s, raise ISO (like ISO 800/1600) to avoid blur
(4) Set focal length to wide angle (like 18mm), get close to your pet, use toys to attract attention, focus and shoot from above to create a cute close-up dog/cat photo!
4. Precautions
1. Cats’ and dogs’ eyes are particularly sensitive to light, so avoid direct flash to prevent harm. If flash is necessary, use bounce flash techniques.
2. Cats and dogs can see light invisible to humans. When using infrared focusing, pets may be uncomfortable or avoid it; use toys to attract their attention.
3. To emphasize the “big head” effect more, DSLR users can consider fisheye lenses.
Have pets as close to the lens as possible, but this often causes depth of field and focus errors, so careful adjustments and testing are needed.
