How to Groom a Bichon Frise? 5 Grooming Tips for Bichon Frise
Many people struggle with how to groom a Bichon Frise, wondering how to properly groom a Bichon Frise?
The Bichon Frise has a beautiful pure white fluffy coat, but the troublesome part is that it requires frequent maintenance.
However, if grooming and care are not done well, it won’t live up to its other name, the beautiful “Curly Bichon Frise,” and naturally Bichon owners will be ashamed when going out.
Don’t worry, below the dog care section introduces how to groom a Bichon Frise and precautions when grooming a Bichon Frise.

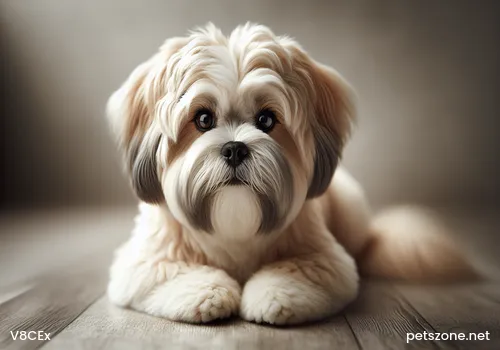
The first thing to know is that when grooming a Bichon Frise the focus is on the face, because the eyes are the window to the soul; they are the most expressive part and naturally the focus of Bichon grooming.
1. The first step of Bichon Frise grooming: Brushing
First brush the Bichon’s coat. Only with thorough brushing can dirt be removed, and it’s easier to proceed to the next step of washing and cleaning the coat. 1. Place the Bichon in an appropriate location such as a table or dressing table, then use a pin brush to brush the coat slowly in the opposite direction from the hindquarters toward the forequarters; 2. Brush in order from head to tail, basically more than three times.
2. The second step of Bichon Frise grooming: Cleaning
After brushing, you can clean the Bichon’s ears and nails.
1. Squeeze out a small amount of pet shampoo diluted with water, keep the water temperature at 35°-38°, then use the thumb and index finger to gently squeeze the Bichon’s anal glands to clean them;
2. During the shower, first wet the forequarters from front to back. Then apply the diluted shampoo on the head and entire body, gently rubbing from the head to the back, abdomen, and limbs, avoiding getting shampoo in the eyes;
3. After rubbing, wash the entire body with water, apply some conditioner to the coat, and rinse thoroughly.
3. The third step of Bichon Frise grooming: Drying
1. Wrap the body with a bathing towel and move to the table to wipe off the moisture;
2. Use a hairdryer to dry remaining moisture, starting from the head, brushing while drying; comb each area straight little by little until the roots are completely dry;
3. After drying, use a straight comb to brush all the hair again, checking for knots or areas not dried straight.
4. The fourth step of Bichon Frise grooming: Clipping
1. Trim the paws only up to the base of the pads; when clipping the paw pad hair, separate the pads with thumb and index finger, carefully trimming the stray hair;
2. Clip the belly hair.
3. Clip from the base of the tail to the anus in a “V” shape.
5. The fifth step of Bichon Frise grooming: Trimming
1. First shape the foot contours on the Bichon’s paws. Round shape, without exposing nails or paw pads.
2. Backline: The backline is horizontal, trimming the front down to the vertical line extended slightly behind the elbow (shoulder blade slightly backward). The forequarters to hindquarters form a straight line.
3. When shaping the hindquarters of the Bichon, the trimming should be exaggerated, cutting a rounded arc from the tail base to the ischium. If the dog has long body and short legs, lift the ischium during trimming to compensate for this defect.
4. The hindquarters line starts trimming from the inside of the hind legs, forming a straight line. On the inside of the hind legs, trim diagonally toward the top of the foot. The length of the leg hair is determined by the distance from the ground, trimming upward. The hock is a straight line.
5. Waist and abdomen: Bichons have no waistline, keep length consistent from back to front. Abdominal line is almost a horizontal slant. The chest must not be lower than the front elbow.
6. From the breastbone to the outside of the thigh is a straight line, and the inside of the front legs is also a straight line. The area between the two legs naturally connects to the waist and abdomen. The back side of the forelegs is a straight line but naturally slants downward. The throat to breastbone is a straight line and slightly shorter length; emphasis is on the head, so chest area near shoulder blade to upper arm is cut with a slight curve.
7. Head trimming: Brush the hair on the head backward, cut the whole head into a round shape with the nose as the center. When trimming the face, hold down the hair on both sides of the nose, level between the eyes, cut the head hair in layered V shapes, each layer slightly longer than the previous, distance from the outer corner of the eyes 0.6–0.3CM. Start trimming from the throat forming a horizontal line, viewed from above only the head is visible.
8. Overall finishing touches.


-560x560.webp)